What Tile Floor Installation Actually Involves
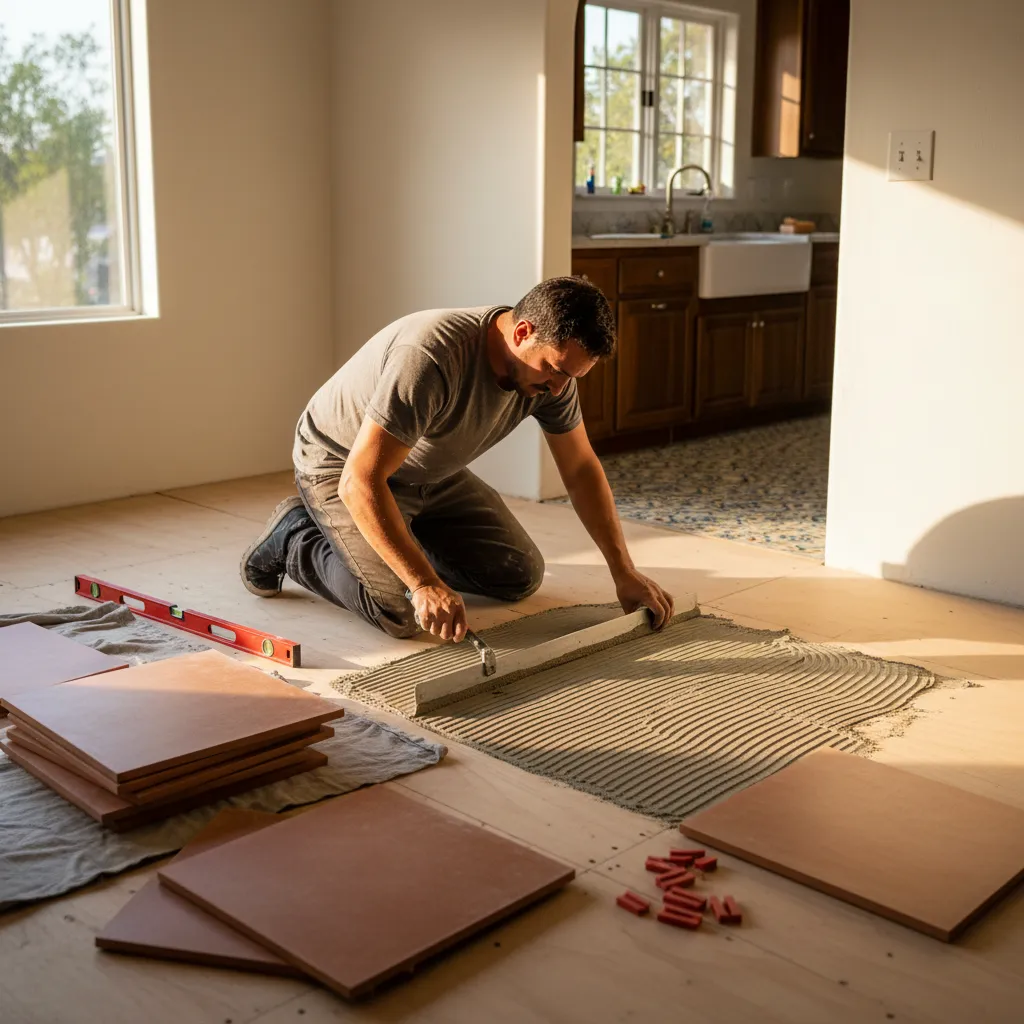
Most people think it's just sticking tiles to the floor. It's not even close.
Tile floor installation is a multi-step process, and every step matters. Skip one, rush through another, and you'll see cracked tiles or loose grout within a year. It shows up all the time in Van Nuys homes where someone tried to cut corners. Here's what the real process looks like when it's done right:
- Subfloor prep. The existing floor gets checked for level, moisture, and structural soundness. Concrete slabs in older homes near Lake Balboa often have low spots or hairline cracks that need patching first.
- Backer board or membrane. Tile can't go directly on plywood. Cement backer board or an uncoupling membrane gives the tile a stable base that won't flex.
- Layout and dry fit. Chalk lines get snapped and tiles get laid without mortar to plan the pattern. This is where cuts around doorways, cabinets, and odd angles get figured out.
- Thinset application and tile setting. Mortar gets spread in small sections and each tile gets pressed into place with spacers. Rushing this step causes lippage, those uneven edges that catch your toe.
- Grouting. After the thinset cures for at least 24 hours, grout gets packed into every joint and the surface cleaned.
- Sealing and final cleanup. Porous tiles and grout lines get sealed to resist stains and moisture.
The whole job usually takes two to five days depending on room size. A standard bathroom is quicker. A full kitchen with island cuts and transitions to other flooring takes longer.
And here's something most homeowners don't realize. The subfloor prep is often half the work. Old vinyl pulled up in 1960s ranch homes often hides three layers of flooring underneath, each one creating a new problem. That hidden mess is what separates a tile job that lasts from one that doesn't.
A good contractor handles every phase with one crew. No subcontractors showing up mid-project wondering what the plan is. One licensed crew from start to finish, familiar with the building styles across Van Nuys.
Choosing the Right Tile for Slab Foundations and Valley Heat
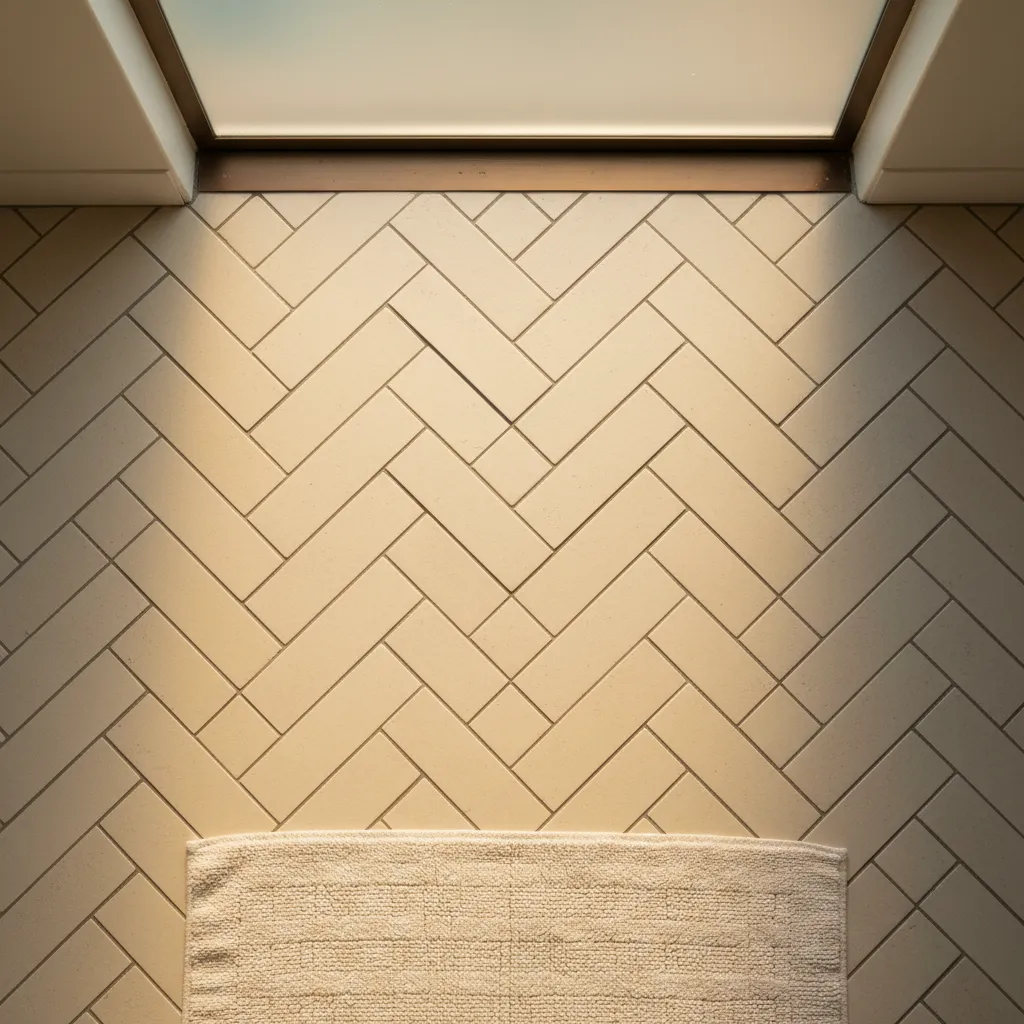
Most homes in Van Nuys sit on concrete slab foundations. That's actually great news for tile. Slab gives you a flat, stable base that won't flex or bounce. But it also means you've got to pick tile that can handle what the Valley throws at it.
This mistake shows up all the time.
Someone falls in love with a tile at the store, brings it home, and it cracks within a year. Why? Wrong material for the conditions. Slab foundations in the San Fernando Valley shift slightly with temperature swings. Summer surface temps on concrete can hit well over 100 degrees in neighborhoods like Lake Balboa. That heat transfers straight through your slab. So you need tile that won't warp, pop, or crack under thermal stress.
Here's what works well on Valley slabs:
- Porcelain tile handles heat and moisture better than most options, and it's the go-to recommendation for living areas and kitchens
- Ceramic tile works great in bedrooms and hallways where foot traffic is lighter
- Natural stone looks incredible but needs sealing and more prep work on the substrate
- Large-format tiles reduce grout lines and give rooms a cleaner look, though they demand a perfectly level slab
Wondering if your slab is level enough? That's actually pretty common. A contractor checks every floor with a straight edge before recommending tile size. A slab with dips or humps needs leveling compound first. Skip that step and your tiles will lip, rock, or eventually crack at the edges.
And don't overlook the rating on the box. The PEI rating tells you how much wear a tile can take. Kitchens and entryways need a PEI 4 or 5. A bathroom can get away with PEI 3. Matching PEI ratings to room traffic is one of the biggest factors in long-term tile performance.
Color matters too, but not just for looks. Lighter tiles stay cooler underfoot during those brutal August days. Tile work in homes near Sepulveda Basin often uses light porcelain to keep the house feeling cool. Smart move. If you're not sure what'll work best for your space, give us a call and we'll match you with a contractor to walk through it.
Subfloor Preparation, The Step That Determines How Long Your Tile Lasts
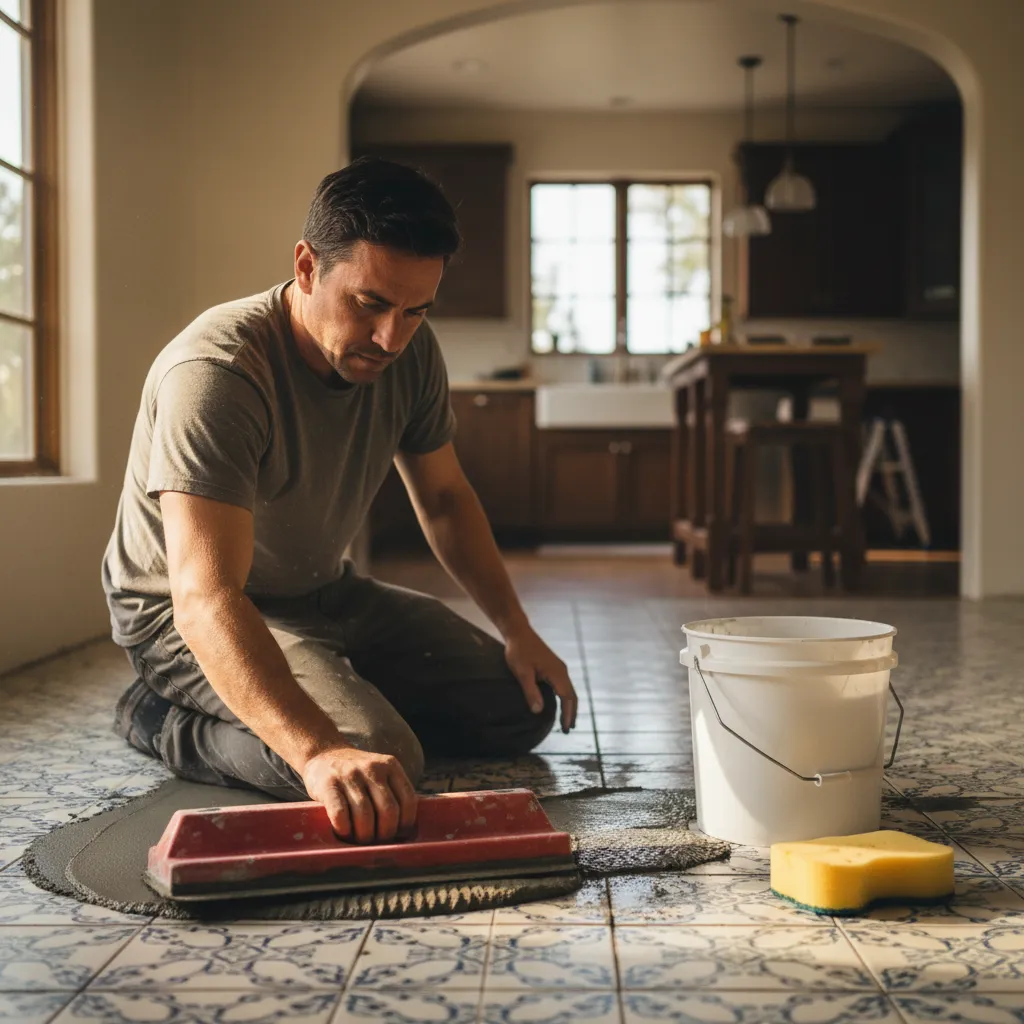
Here's what every homeowner in Van Nuys should hear before the work starts. The tile itself isn't what fails. The subfloor underneath is what causes cracked grout, loose tiles, and that hollow sound when you walk across the room.
It shows up every single week. Someone calls because their tile floor is popping up after just a couple years. Pull up a tile and the real problem is underneath. Uneven subfloor. Old adhesive residue. Moisture damage nobody checked for.
Subfloor prep isn't the exciting part of tile floor installation, but it's the part that matters most. A good contractor spends real time here because shortcuts show up fast. A bump as small as 1/8 inch over 10 feet can cause tiles to crack under normal foot traffic. That's a standard flatness guideline in the industry.
What Proper Subfloor Prep Looks Like
Every job is a little different, but the process follows a clear order:
- Remove the old flooring down to the subfloor surface.
- Check for moisture using a meter, especially in kitchens and bathrooms.
- Scrape off old thinset, glue, or paint residue.
- Test for level across the full floor area.
- Apply self-leveling compound or cement board where needed.
- Prime the surface so the thinset bonds properly.
Skip any one of those steps and you're gambling with the finished floor.
Older homes near Lake Balboa and throughout the Valley often have plywood subfloors that flex. Plywood moves. Tile doesn't. So cement backer board goes down to create a rigid surface that won't shift under the tile. It adds maybe half an hour to the job, but it saves you years of problems down the road.
Concrete slabs are common too, and they come with their own issues. Cracks in the slab can telegraph right through to your new tile. A crack isolation membrane over problem areas keeps that from happening.
Not sure what's under your current floor? That's actually pretty common. Most people don't know until things get pulled up. And that's fine. A contractor handles it all on site and adjusts the prep plan based on what turns up. Give us a call if you want a contractor to take a look before you commit to anything.
Tile Installation for Rental Properties and Unit Turnovers
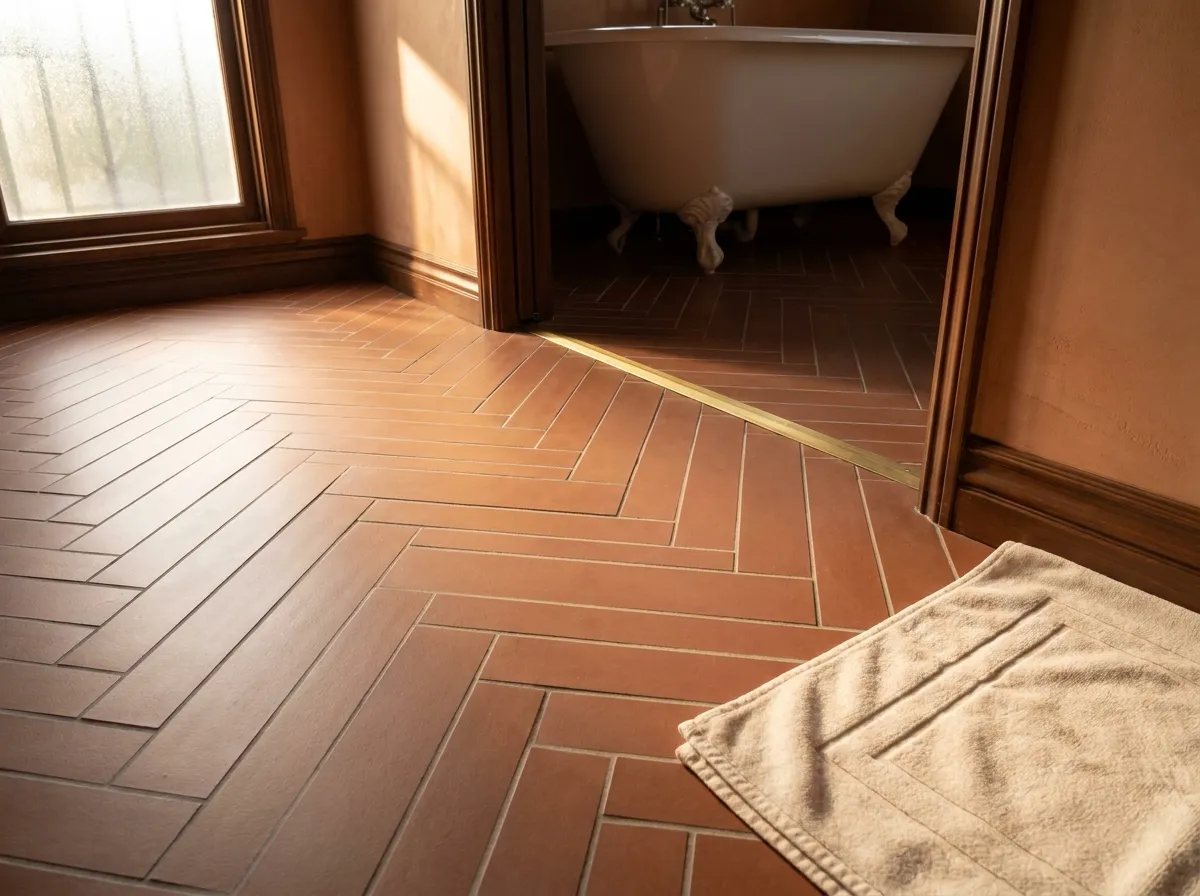
Landlords in Van Nuys don't call when things are going great. They call when a tenant just moved out and the floors look like a demolition site. Carpet's stained beyond saving, vinyl's peeling at every seam, and the next tenant wants to move in by the first of the month. These calls come in constantly.
Tile floor installation is the smartest move for rental properties. Period.
Carpet in a rental is basically disposable. You'll replace it every two or three years. Vinyl holds up a little longer, but it scratches and dents fast under real-world use. Tile handles tenants, pets, furniture drags, and spills without flinching. Tile installed in rental units near Sepulveda Boulevard still looks sharp after a decade of tenant turnover.
Why Landlords Keep Choosing Tile
- It survives move-ins and move-outs without needing replacement
- Cleaning between tenants takes hours instead of days
- It won't trap odors from pets or cooking
- Prospective renters see tile and assume the unit is well maintained
That last point matters more than people think. A clean tile floor photographs well for listings, it shows well during walkthroughs, and it tells a potential tenant you actually care about the property. And in a competitive rental market, that edge fills vacancies faster.
The right contractor works with property owners who manage anywhere from one unit to a dozen across the Valley, and understands the timeline pressure. When your unit sits empty, you're losing rent every single day. So tile installation gets scheduled to fit tight turnovers. Most single-unit jobs wrap up in two to three days, sometimes faster depending on the layout.
Landlords who try tile in one unit end up coming back for the rest of their properties.
A good contractor also handles the subfloor prep that rental units almost always need. Old adhesive from previous flooring, uneven spots from years of settling, moisture issues in ground-floor units. All of it gets fixed before a single tile goes down. Skipping that step is how you end up with cracked grout and loose tiles six months later — plenty of bad installs that cut those corners end up torn out.
If you've got a unit turning over soon, don't wait until the last tenant is out to start planning. Give us a call now to line up materials and lock in an install date.
How to Know Your Tile Installation Was Done Correctly
You shouldn't have to guess. A good tile floor installation shows itself right away if you know what to look for.
Start by getting down low. Eye level with the floor. You're looking for lippage, which is when one tile edge sits higher than the one next to it. A little variation is normal with large-format tiles. But if you can feel a sharp edge when you drag your sock across a seam, something went wrong during the leveling process. A good installer checks every row along the way because fixing lippage after thinset cures is basically a tear-out job.
What to Check Yourself
- Grout lines should be straight and consistent in width from wall to wall
- No hollow sounds when you tap tiles with your knuckle, especially near edges and corners
- Cuts along walls and cabinets should be tight with no jagged gaps wider than a caulk line
- The floor should feel solid underfoot with zero flex or movement
That hollow sound test matters more than most people realize. Tiles with hollow spots underneath can crack under normal foot traffic. It's from poor thinset coverage on the back of the tile. A quality crew butters both the substrate and the tile itself on every Van Nuys project. It takes more time and more material, but it's the only way to get full contact.
Transitions tell a story too. Where tile meets hardwood or carpet in a doorway, you should see a clean strip sitting flat. No wobble. And the tile shouldn't be chipped where it was cut to fit.
Here's one people miss. Look at the layout. Did the installer center the pattern in the room, or did they just start from one wall and end up with a tiny sliver on the other side? That sliver is a sign someone rushed. In homes near Lake Balboa, previous crews have left two-inch cuts along an entire hallway. That's not just ugly, it's weak.
A properly done floor feels locked in. You walk on it and forget it's even there. If anything catches your eye or your toe, that's worth a conversation before the final walkthrough.